How to install an excavator rock arm?
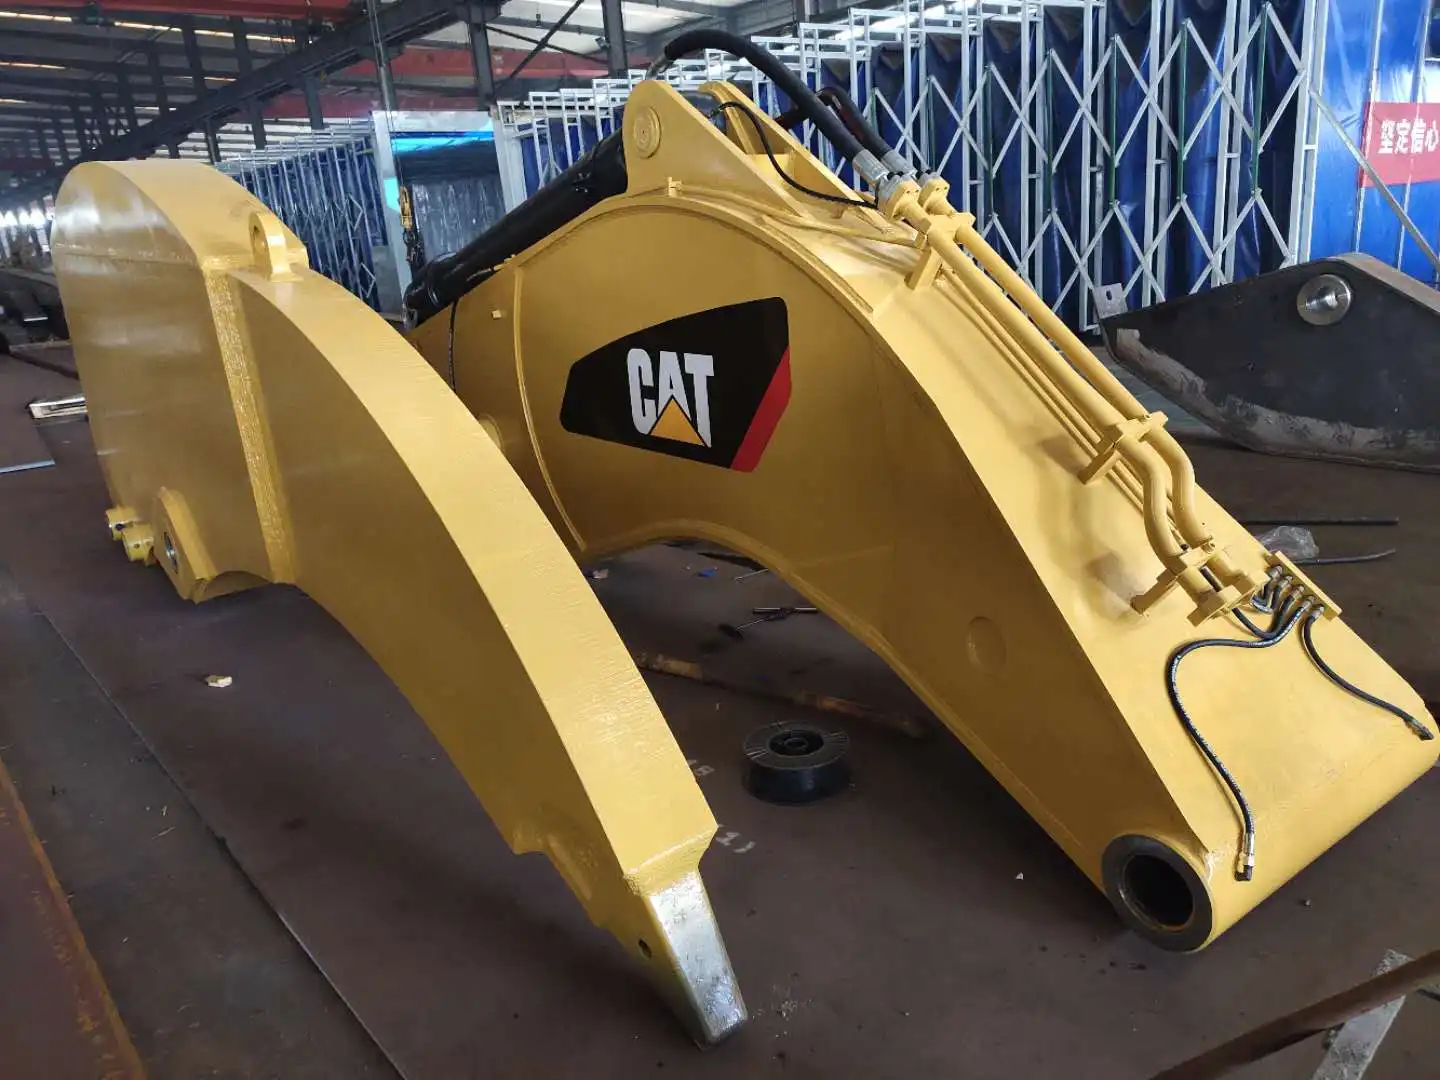
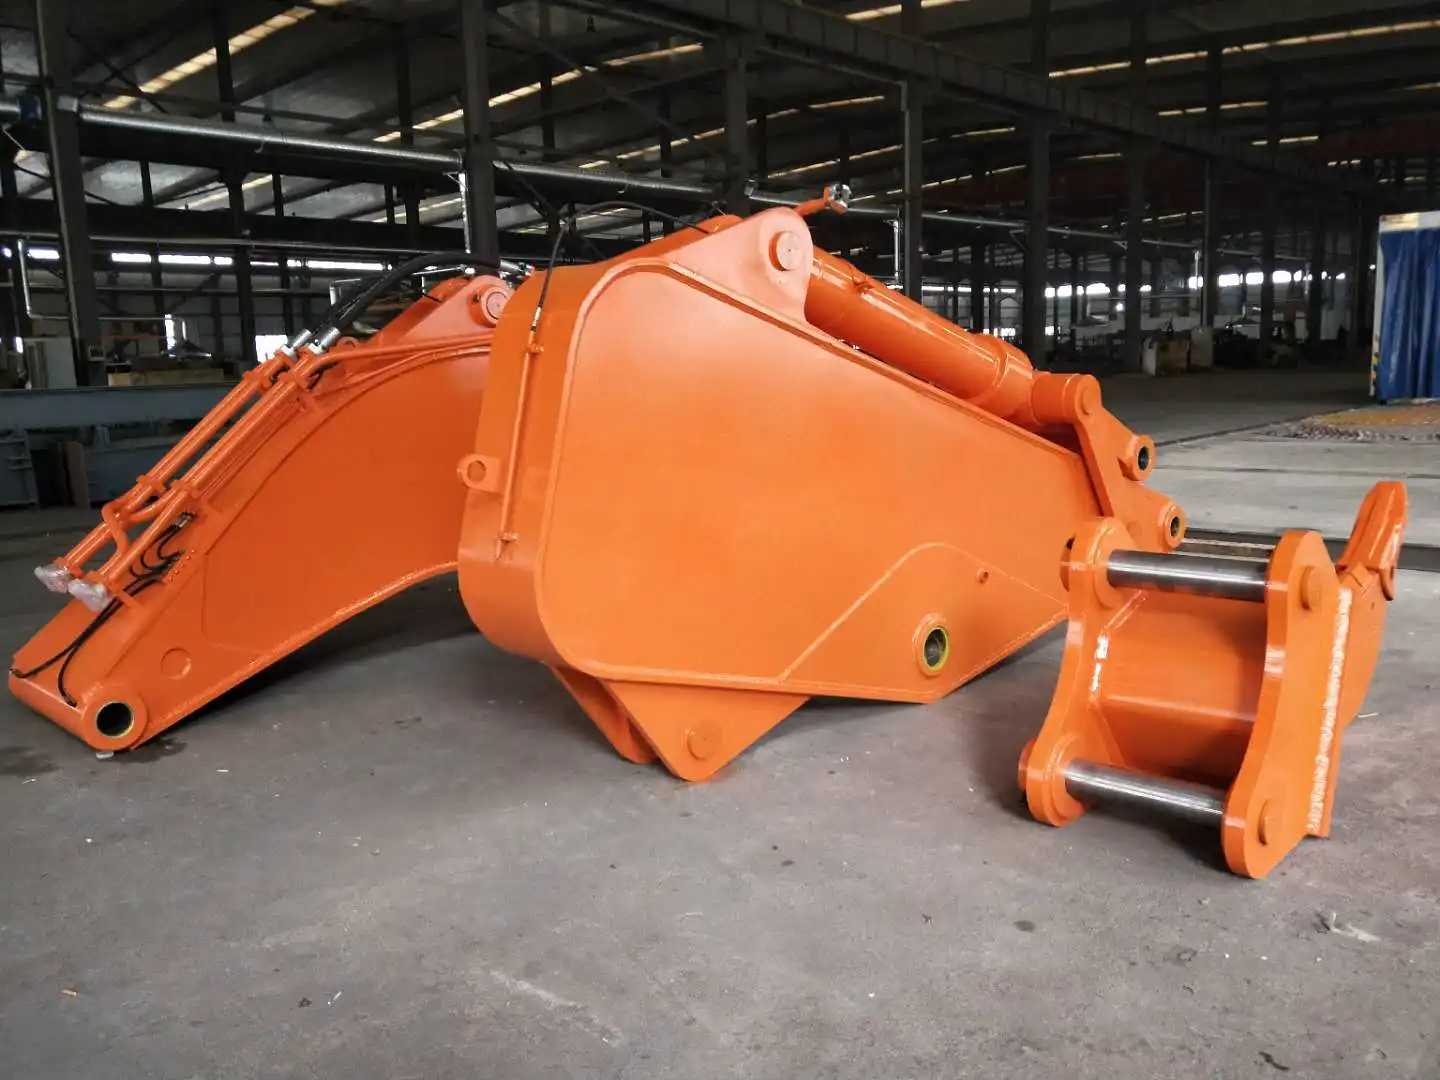
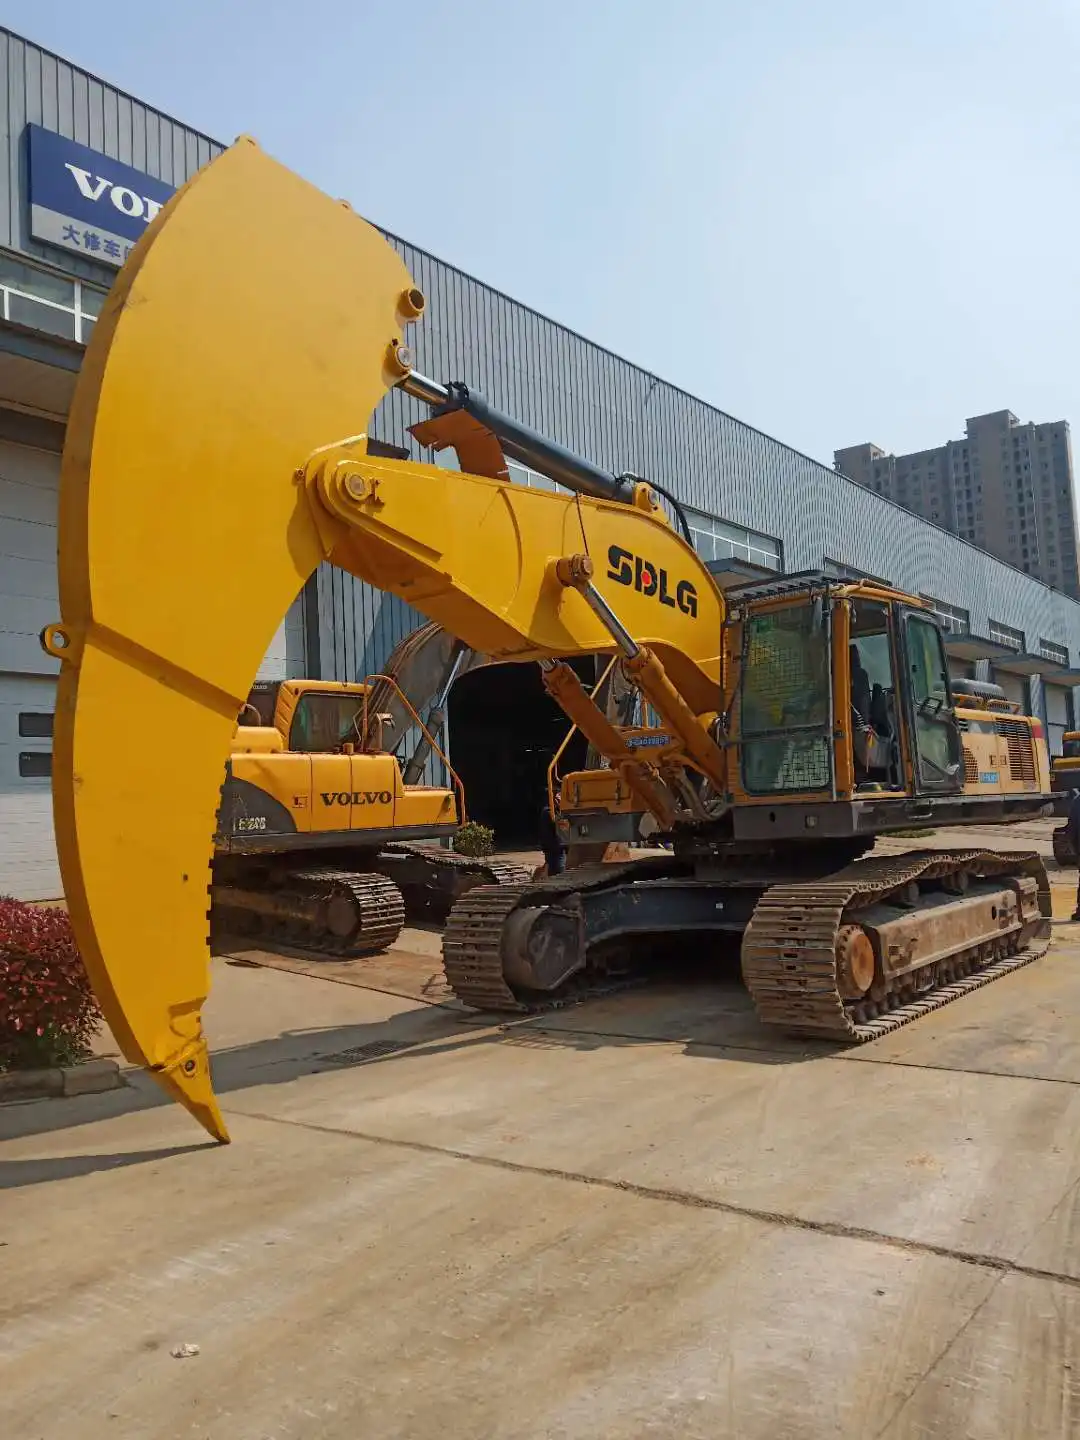
Installing an excavator rock arm is a crucial process that enhances the machine's capabilities for tough excavation tasks. The rock arm, also known as a ripper arm or breaker boom, is designed to tackle hard rock and densely compacted soil. Proper installation ensures optimal performance and longevity of both the arm and the excavator. This guide will walk you through the essential steps, tools, and precautions needed for a successful rock arm installation, helping you boost your excavator's efficiency in challenging terrains.
Step-by-Step Guide: Rock Arm Installation
Preparing Your Excavator for Rock Arm Mounting
Before diving into the installation process, thorough preparation is key. Start by positioning your excavator on a level, stable surface. Engage the parking brake and lower the boom to a comfortable working height. Next, clean the attachment points thoroughly, removing any dirt, debris, or old grease that could interfere with the installation.
Inspect the hydraulic system, ensuring all hoses and fittings are in good condition. It's crucial to relieve any residual pressure in the hydraulic lines before proceeding. This can typically be done by turning the ignition key to the "on" position without starting the engine, then moving the joysticks in all directions.
Gather all necessary tools and equipment, including hydraulic wrenches, alignment pins, and safety gear. Having everything at hand will streamline the installation process and minimize downtime.
Aligning and Securing the Rock Arm to the Boom
With preparations complete, it's time to mount the excavator rock arm. Begin by carefully aligning the mounting brackets on the rock arm with the attachment points on the excavator's boom. This step requires precision and patience - misalignment can lead to performance issues and potential damage.
Use alignment pins to guide the rock arm into place. These pins help ensure proper positioning before you secure the bolts. Once aligned, insert and hand-tighten the mounting bolts. It's important not to fully tighten them yet, as you may need to make minor adjustments.
After confirming the alignment is correct, use a torque wrench to tighten the bolts to the manufacturer's specified torque. This step is critical for the arm's stability and safety during operation. Double-check all connections to ensure they're secure.
Testing and Calibrating Your Newly Installed Rock Arm
With the excavator rock arm securely attached, it's time for testing and calibration. Start by connecting the hydraulic lines, ensuring all fittings are tight and properly sealed. Slowly pressurize the system, watching for any leaks or unusual behavior.
Power up the excavator and gently cycle the rock arm through its full range of motion. Pay close attention to any unusual sounds, vibrations, or resistance. If everything moves smoothly, gradually increase the speed and force of the movements to simulate working conditions.
Calibrate the arm's movements and pressure settings according to the manufacturer's guidelines. This may involve adjusting hydraulic flow rates and pressure relief valves to optimize performance and protect the equipment from overload.
Finally, perform a series of test operations in a controlled environment. This will help you familiarize yourself with the new capabilities of your excavator and ensure everything is functioning as intended before taking on real-world tasks.

Essential Tools for Rock Arm Mounting
Hydraulic Equipment for Smooth Rock Arm Installation
Proper hydraulic equipment is the backbone of a successful excavator rock arm installation. A hydraulic torque wrench is indispensable for achieving precise bolt tension, crucial for the arm's stability. Hydraulic jacks and lifts help maneuver the heavy rock arm into position safely and accurately.
Don't overlook the importance of hydraulic pressure gauges and flow meters. These tools are vital for setting up and fine-tuning the hydraulic system that powers the rock arm. They ensure the arm receives the correct pressure and flow rate, optimizing its performance and preventing damage from over-pressurization.
Safety Gear: Protecting Workers During Rock Arm Setup
Safety should never be an afterthought when installing heavy equipment like an excavator rock arm. Hard hats, steel-toed boots, and high-visibility vests are non-negotiable basics. Eye protection is crucial to guard against hydraulic fluid splashes or metal shavings.
Heavy-duty gloves protect hands from sharp edges and pinch points, while hearing protection is essential when working around noisy hydraulic equipment. A fall protection harness may be necessary if you're working at heights during the installation process.
Precision Tools for Accurate Rock Arm Positioning
Precision is key in rock arm installation, and the right tools make all the difference. Laser alignment tools help ensure perfect positioning of the arm relative to the excavator's boom. Digital levels and inclinometers assist in achieving the correct angles for optimal performance.
Torque multipliers and electronic torque wrenches allow for precise tightening of large bolts, crucial for the arm's stability and longevity. Feeler gauges and dial indicators help in fine-tuning clearances and alignments, ensuring smooth operation and minimizing wear on moving parts.

Common Pitfalls in Rock Arm Installation
Avoiding Misalignment: Key to Rock Arm Performance
Misalignment is one of the most common and potentially costly mistakes in excavator rock arm installation. Even a slight misalignment can lead to uneven wear, reduced efficiency, and potential damage to both the arm and the excavator. To avoid this, use laser alignment tools and take multiple measurements during the installation process.
Pay special attention to the pivot points and ensure they're properly greased and move freely. Check the alignment under different load conditions, as the weight of the rock arm can cause shifts in positioning. Regular realignment checks during the first few weeks of operation can catch and correct any settling issues early.
Preventing Hydraulic Leaks in Rock Arm Connections
Hydraulic leaks not only reduce efficiency but can also lead to environmental hazards and costly repairs. Ensure all fittings are properly tightened and use thread sealant where appropriate. Replace any worn or damaged O-rings and seals before installation.
Be cautious not to over-tighten hydraulic connections, as this can damage threads or crush seals. Use a torque wrench and follow manufacturer specifications. After installation, run the system at low pressure and visually inspect all connections for leaks before ramping up to full operating pressure.
Troubleshooting Rock Arm Stability Issues Post-Installation
Even with careful installation, stability issues can arise. If you notice excessive play or vibration in the excavator rock arm, first check all mounting bolts for proper torque. Loose bolts can quickly lead to more serious problems.
Inspect bushings and pins for wear or damage, as these are common culprits in stability issues. Ensure the hydraulic cylinders are properly bled and operating smoothly. If problems persist, consult the manufacturer's troubleshooting guide or seek professional assistance to avoid potential damage or safety hazards.
Installing an excavator rock arm is a complex but rewarding process that significantly enhances your machine's capabilities. By following this guide, using the right tools, and being aware of common pitfalls, you can ensure a successful installation. Remember, proper preparation, precise alignment, and thorough testing are key to optimal performance and longevity. Always prioritize safety and don't hesitate to seek professional help if needed. With your newly installed rock arm, you're well-equipped to tackle challenging excavation tasks with increased efficiency and power.

FAQ
Q1: How long does it typically take to install an excavator rock arm?
A1: The installation time can vary depending on the excavator model and the team's experience. Generally, it takes between 4 to 8 hours for a skilled team to complete the installation, including preparation, mounting, and initial testing.
Q2: Can I install a rock arm on any excavator model?
A2: Not all excavator models are compatible with rock arms. It's essential to check with the manufacturer or a qualified dealer to ensure your excavator can support the additional weight and hydraulic requirements of a rock arm.
Q3: How often should I inspect the rock arm after installation?
A3: Conduct a thorough inspection after the first 50 hours of operation. Subsequently, daily visual checks and weekly detailed inspections are recommended, with more comprehensive examinations every 500 hours or as specified by the manufacturer.
Q4: What are the signs that my rock arm may need readjustment after installation?
A4: Look out for unusual noises, vibrations, decreased performance, or visible misalignment. Hydraulic leaks, uneven wear on the attachment points, or difficulty in controlling the arm's movements are also indicators that readjustment may be necessary.
Q5: Is special training required to operate an excavator with a newly installed rock arm?
A5: While formal training may not always be mandatory, it's highly recommended. Operators should be familiar with the new capabilities and limitations of the excavator with the rock arm installed. Many manufacturers offer training sessions or guidelines for safe and efficient operation.
Excavator Rock Arm Supplier
When it comes to high-quality excavator rock arms and other specialized attachments, Tiannuo Machinery stands out as a leading supplier. Our range of products includes not just rock arms, but also extended arms, pile driving arms, and various excavator accessories designed to enhance your machine's versatility and performance. We understand the unique demands of industries such as railway construction, mining, and demolition, and our products are engineered to meet these challenges head-on. For those interested in learning more about our engineering solutions, we invite you to contact us at tn@stnd-machinery.com. Our team of experts is ready to assist you in finding the perfect attachment to boost your excavator's capabilities and your project's efficiency.
References
- TianNuo Machinery Official Website
- Excavator Maintenance Manual by Komatsu
- Rock Arm Installation Guide by Hitachi Construction
- Safety Standards for Heavy Equipment Installation
- Journal of Construction Engineering and Management
- International Journal of Mining Science and Technology
About Author: Arm
Arm is a leading expert in the field of specialized construction and railway maintenance equipment, working at Tiannuo Company.

