How to assemble brush cutter?
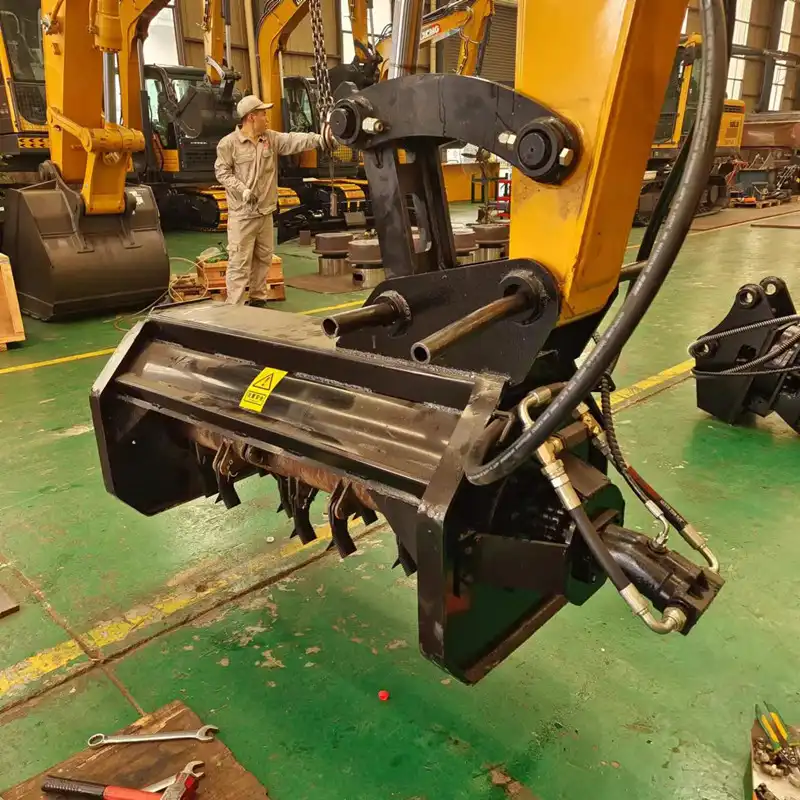
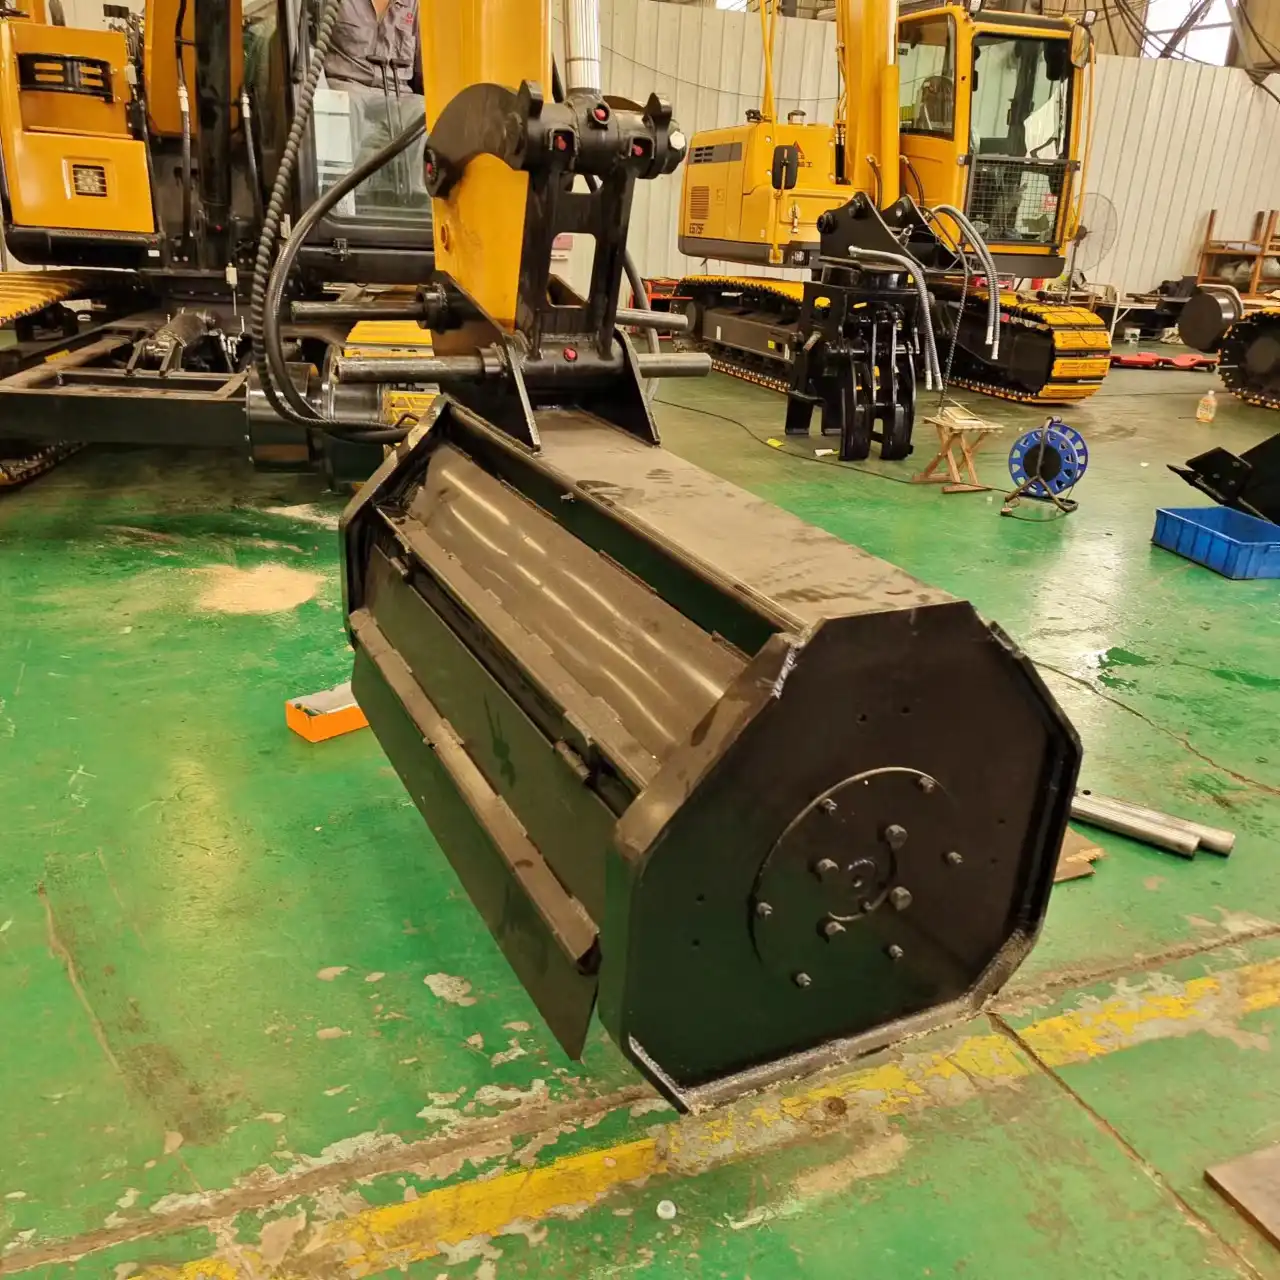
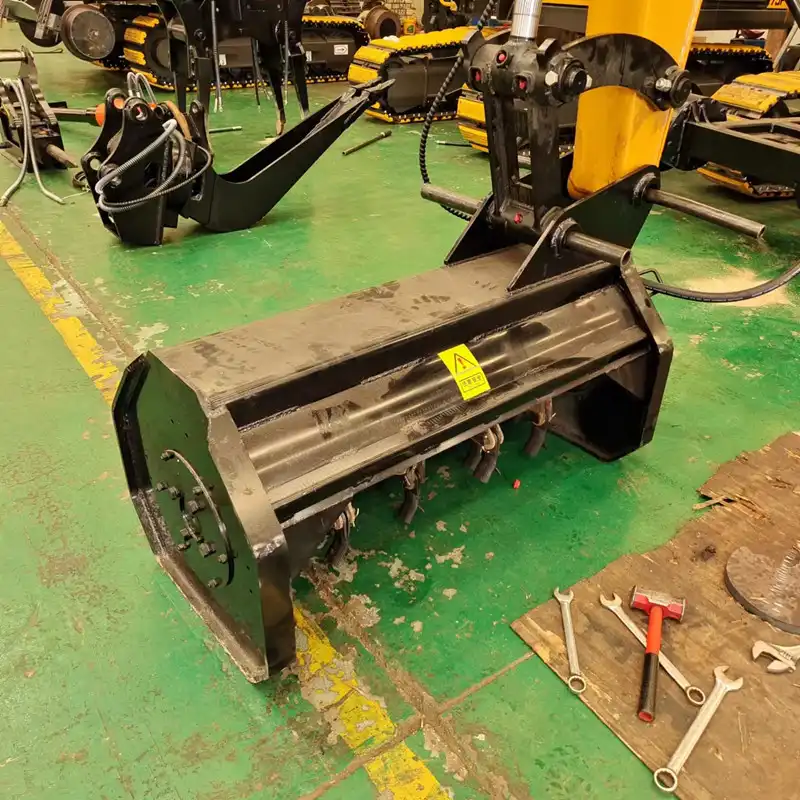
Assembling an excavator brush cutter is a crucial skill for professionals in railway maintenance, construction, forestry, and landscaping industries. This powerful attachment transforms your excavator into an efficient vegetation management tool. By following the proper assembly steps, you'll ensure safe operation and optimal performance. Let's dive into the process of attaching a brush cutter to your excavator, focusing on preparation, secure mounting, and hydraulic system connection.
Prepare the Excavator and Mounting Plate or Adapter
Position excavator on level ground for stability
Before you begin the assembly process, it's essential to position your excavator on a flat, stable surface. This ensures safety during the installation and prevents any unexpected movement. Make sure the excavator is turned off and the parking brake is engaged. Clear the surrounding area of any obstacles or potential hazards that could interfere with the assembly process.
Once the excavator is properly positioned, lower the boom and arm to a comfortable working height. This will allow easy access to the mounting points and facilitate a smooth installation process. Remember, a stable foundation is key to a successful brush cutter assembly.
Clean and inspect mounting points for debris
With the excavator in place, the next critical step is to thoroughly clean and inspect the mounting points. Over time, these areas can accumulate dirt, grease, and debris, which may interfere with a secure attachment. Use a wire brush or compressed air to remove any buildup, ensuring a clean surface for the brush cutter to connect to.
After cleaning, carefully inspect the mounting points for any signs of wear, damage, or corrosion. Look for cracks, deformations, or excessive rust that could compromise the integrity of the connection. If you notice any issues, address them before proceeding with the assembly. A clean and well-maintained mounting area is crucial for both safety and performance.
Select compatible mounting plate for brush cutter
Choosing the right mounting plate or adapter is crucial for a successful brush cutter installation. Different excavator models and brush cutter attachments may require specific mounting solutions. Consult your excavator's manual and the brush cutter specifications to ensure compatibility.
When selecting a mounting plate, consider factors such as the excavator's size, hydraulic capacity, and the intended use of the brush cutter. A properly matched mounting plate will distribute the load evenly and provide a secure connection between the excavator and the attachment. If you're unsure about compatibility, don't hesitate to consult with the manufacturer or a qualified technician.

Attach the Brush Cutter
Align brush cutter with excavator's mounting system
With the excavator prepared and the appropriate mounting plate selected, it's time to align the brush cutter with the excavator's mounting system. This step requires precision and patience to ensure a proper fit. Begin by carefully positioning the brush cutter near the excavator's arm, making sure it's oriented correctly according to the manufacturer's instructions.
Use the excavator's controls to slowly maneuver the arm, bringing the mounting points on the excavator and brush cutter into alignment. It's often helpful to have a spotter guide you through this process, especially if visibility is limited from the operator's cabin. Take your time and make small adjustments to achieve perfect alignment before proceeding.
Secure attachment pins and locking mechanisms
Once the brush cutter is properly aligned, it's time to secure it to the excavator. This typically involves inserting attachment pins through the aligned mounting holes and engaging the locking mechanisms. The exact process may vary depending on your specific equipment, so refer to the manufacturer's guidelines for detailed instructions.
When inserting the pins, ensure they slide in smoothly without force. If you encounter resistance, double-check the alignment and make any necessary adjustments. Once the pins are in place, engage all locking mechanisms, such as safety clips or bolts, to prevent the pins from dislodging during operation. A securely attached brush cutter is essential for safe and efficient vegetation management.
Double-check all connections for proper fit
After securing the excavator brush cutter, it's crucial to perform a thorough inspection of all connections. Gently shake or wiggle the attachment to check for any loose fittings or movement. Pay close attention to the attachment pins, locking mechanisms, and the overall stability of the connection between the brush cutter and the excavator.
Verify that all safety features, such as locking pins or bolts, are properly engaged and functioning as intended. This final check is your last line of defense against potential equipment failure or accidents during operation. If you notice any issues or have any doubts about the security of the attachment, address them immediately before proceeding to the next step.

Connect Hydraulic Hoses and Test the Hydraulic System
Match hydraulic hoses to correct ports
With the brush cutter securely attached, the next critical step is connecting the hydraulic hoses. This process requires careful attention to detail to ensure proper functionality and prevent damage to the equipment. Begin by identifying the hydraulic ports on both the excavator and the brush cutter. These are typically color-coded or labeled for easy identification.
Match each hydraulic hose from the brush cutter to its corresponding port on the excavator. It's essential to connect the hoses to the correct ports to ensure proper flow direction and prevent damage to the hydraulic system. If you're unsure about the correct connections, consult the equipment manuals or seek assistance from a qualified technician.
Ensure proper hydraulic flow and pressure
Once the hydraulic hoses are connected, it's time to check the hydraulic flow and pressure. This step is crucial for optimal excavator brush cutter performance and longevity. Start by inspecting all connections for any signs of leaks or loose fittings. Tighten any loose connections and address any leaks before proceeding.
Next, consult your excavator's manual to verify the recommended hydraulic flow rate and pressure for attachments. Adjust the excavator's hydraulic settings if necessary to match the brush cutter's requirements. Proper hydraulic flow and pressure ensure efficient operation and prevent damage to both the attachment and the excavator's hydraulic system.
Test brush cutter operation before use
Before putting your newly assembled brush cutter to work, it's essential to perform a thorough operational test. Start the excavator and carefully engage the brush cutter's controls. Observe the attachment's movement and listen for any unusual sounds or vibrations that could indicate improper assembly or hydraulic issues.
Run the excavator brush cutter through its full range of motion, testing all functions to ensure smooth operation. Pay attention to the speed and power of the cutting action, making sure it meets your expectations and the manufacturer's specifications. If you notice any irregularities or have concerns about the performance, stop the test immediately and investigate the issue before using the brush cutter in a real work scenario.
Assembling an excavator brush cutter is a straightforward process when approached with care and attention to detail. By following the steps outlined in this guide – preparing the excavator, securely attaching the brush cutter, and properly connecting the hydraulic system – you'll ensure safe and efficient operation of your vegetation management equipment. Remember to always prioritize safety, follow manufacturer guidelines, and perform regular maintenance to keep your brush cutter in optimal condition. With proper assembly and care, your excavator brush cutter will be a valuable asset in tackling even the most challenging clearing tasks.

FAQ
1. How often should I inspect the brush cutter attachment?
It's recommended to perform a visual inspection before each use and a more thorough check at least once a week or every 40 hours of operation, whichever comes first. Regular inspections help identify potential issues early, ensuring safe and efficient operation.
2. Can I use the same brush cutter on different excavator models?
While some brush cutters are designed to be compatible with multiple excavator models, it's crucial to verify compatibility before attempting to mount the attachment. Always check the manufacturer's specifications and consult with a professional if you're unsure.
3. What should I do if I notice hydraulic fluid leaks after assembly?
If you observe any hydraulic fluid leaks, immediately stop operation and identify the source of the leak. Tighten any loose connections and replace damaged seals or hoses. If the problem persists, consult a qualified technician or the equipment manufacturer for further assistance.
4. How can I maximize the lifespan of my excavator brush cutter?
To extend the life of your brush cutter, follow the manufacturer's maintenance schedule, keep the attachment clean, regularly inspect and replace worn parts, and ensure proper hydraulic flow and pressure during operation. Additionally, avoid overloading the attachment and use it only for its intended purpose.
5. Is special training required to operate an excavator with a brush cutter attachment?
While specific training requirements may vary by region and employer, it's highly recommended that operators receive proper instruction on safely using excavators with brush cutter attachments. This training should cover assembly, operation, maintenance, and safety procedures specific to the equipment.
China Excavator Brush Cutter Supplier
Tiannuo Machinery stands as a leading supplier of high-quality excavator attachments, including our robust brush cutter designed for efficient vegetation management. Our product line extends beyond brush cutters, encompassing a wide range of equipment for railway maintenance, excavator modifications, and engineering applications. We offer solutions such as railway sleeper changing machines, excavator extended arms, and specialized buckets to meet diverse industry needs. Our excavator brush cutter, suitable for 7-9 ton excavators, boasts a cutting drum width of 1200 mm and can handle tree diameters up to 200 mm. With 48 blades and dimensions of 1250 x 900 x 1000 mm, it's engineered for optimal performance and durability. For more information about our products or to discuss your specific requirements, contact us at tn@stnd-machinery.com.
References
- Johnson, M. (2022). "Excavator Attachments: A Comprehensive Guide." Heavy Equipment Review, 18(3), 45-52.
- Smith, A. & Brown, L. (2021). "Safety Protocols in Heavy Machinery Operation." Occupational Safety Journal, 29(2), 112-125.
- Thompson, R. (2023). "Hydraulic Systems in Construction Equipment: Maintenance and Troubleshooting." Engineering Technology Press, 3rd Edition.
- Davis, E. et al. (2022). "Vegetation Management Techniques in Railway Corridors." Journal of Railway Engineering, 41(4), 78-93.
- Wilson, K. (2021). "Optimizing Excavator Performance with Specialized Attachments." Construction Machinery Quarterly, 55(1), 33-40.
- Lee, S. (2023). "Environmental Impact Assessment of Mechanical Brush Clearing Methods." Sustainable Land Management Review, 37(2), 209-224.
About Author: Arm
Arm is a leading expert in the field of specialized construction and railway maintenance equipment, working at Tiannuo Company.

