How to mount an excavator rail clamp?
Mounting an excavator rail clamp requires careful preparation, proper positioning, and systematic execution to ensure safe and effective railway maintenance operations. The installation process involves three critical phases: mechanical attachment to the excavator's undercarriage, hydraulic system integration, and comprehensive testing procedures. Whether you're working with standard gauge tracks or custom rail configurations, understanding the proper mounting sequence prevents equipment damage and ensures operator safety. Professional installation typically takes 45-90 minutes depending on the excavator model and clamp specifications. The mounting process begins with selecting the appropriate attachment points on your machine's chassis, followed by securing the clamp assembly using high-tensile bolts and hydraulic connections. Modern rail clamps feature quick-release mechanisms and integrated safety locks that streamline the installation while maintaining operational reliability across various track environments.
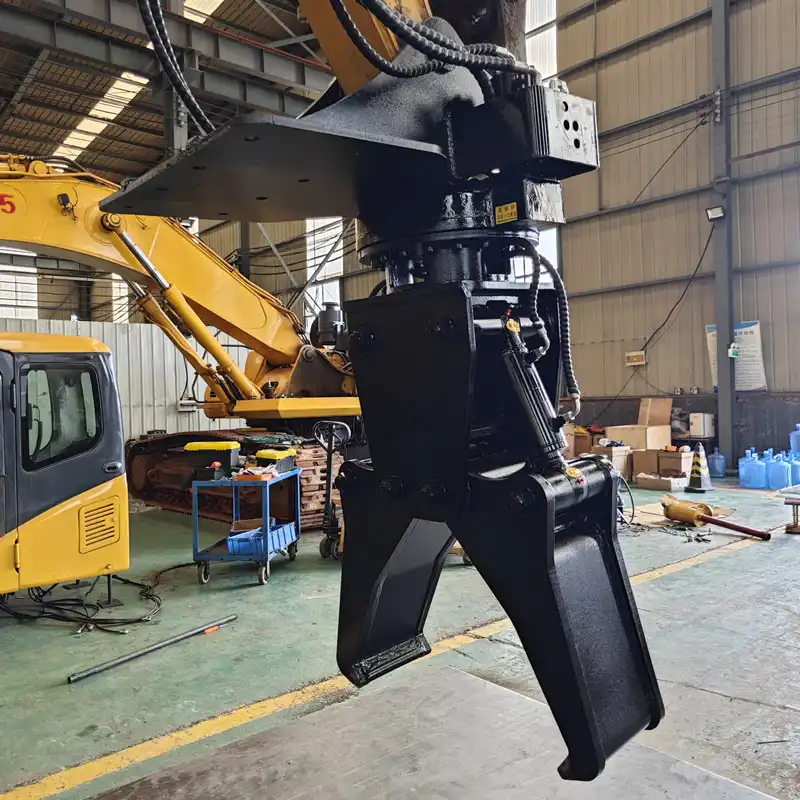
Mechanical Mounting of the Clamp
The mechanical mounting phase establishes the foundation for your rail clamp system and demands precision to achieve optimal performance. Understanding your excavator's undercarriage design becomes essential before beginning any installation work.
Preparation and Equipment Assessment
Begin by thoroughly inspecting your excavator's mounting points and ensuring compatibility with the clamp specifications. Most rail clamps accommodate various excavator sizes, but verifying the weight capacity and attachment dimensions prevents costly mistakes during installation. Check that your machine's hydraulic system can support the additional load requirements, typically ranging from 16-21 MPa operating pressure for standard applications.
Gather all necessary tools including torque wrenches, hydraulic fittings, safety equipment, and the manufacturer's installation manual. Quality clamps come with detailed specifications showing exact bolt patterns and mounting configurations. Clean the attachment areas thoroughly, removing any debris, rust, or oil that might compromise the connection integrity.
Positioning and Alignment Procedures
Position your excavator on level ground away from active rail lines during the installation process. The clamp assembly weighs considerably, so using appropriate lifting equipment ensures safe handling throughout the mounting procedure. Mark the precise attachment points on your excavator's undercarriage according to the manufacturer's specifications.
Align the clamp mounting brackets with the designated attachment points, ensuring perfect positioning before tightening any fasteners. Misalignment during this stage creates stress concentrations that can lead to premature failure or unsafe operating conditions. Use temporary pins or clamps to hold components in position while verifying alignment accuracy.
Securing the Mechanical Connections
Install the mounting bolts in the prescribed sequence, following the manufacturer's torque specifications exactly. High-strength alloy steel construction requires specific tightening patterns to distribute loads evenly across all connection points. Apply thread-locking compound where specified to prevent loosening during operation.
Verify that all mechanical connections meet the required specifications before proceeding to hydraulic integration. Double-check bolt torque values using a calibrated torque wrench, as improper tightening compromises the entire system's reliability. The mechanical mounting should feel solid with no observable movement when force is applied manually.
Hydraulic Activation and Testing
Hydraulic system integration transforms your mechanically mounted clamp into a functional rail maintenance tool. This phase requires careful attention to pressure specifications and safety protocols.
Hydraulic Line Connections
Connect the hydraulic supply lines according to the manufacturer's color-coding or labeling system. Most excavator rail clamps integrate with existing hydraulic circuits, but some applications require independent hydraulic lines for optimal control. Ensure all fittings are properly sealed and tightened to prevent leaks under operating pressure.
Install any required flow control valves or pressure regulators to match your excavator's hydraulic specifications. The clamp's operating pressure should align with your machine's capabilities while providing sufficient clamping force for your specific rail applications. Test all connections for leaks using low pressure before advancing to full system testing.
Initial System Testing
Conduct initial hydraulic testing with the excavator positioned away from rail infrastructure. Start with low-pressure operation to verify proper fluid flow and component movement. The clamp should extend and retract smoothly without binding or irregular motion patterns.
Gradually increase operating pressure while monitoring system response and checking for any unusual sounds or vibrations. Document the pressure readings at which the clamp achieves full extension and retraction. This baseline data helps identify future maintenance needs and ensures consistent performance throughout the equipment's service life.
Safety Feature Verification
Test all safety features including pressure hold valves and locking pins before field deployment. These components prevent accidental release during operation and maintain clamping force even if hydraulic pressure drops unexpectedly. Verify that emergency release procedures function correctly and that operators understand proper safety protocols.
Confirm that the integrated safety systems meet your local railway maintenance standards and regulatory requirements. Many jurisdictions require specific safety certifications for rail-mounted equipment, so documentation of proper installation and testing becomes essential for compliance purposes.
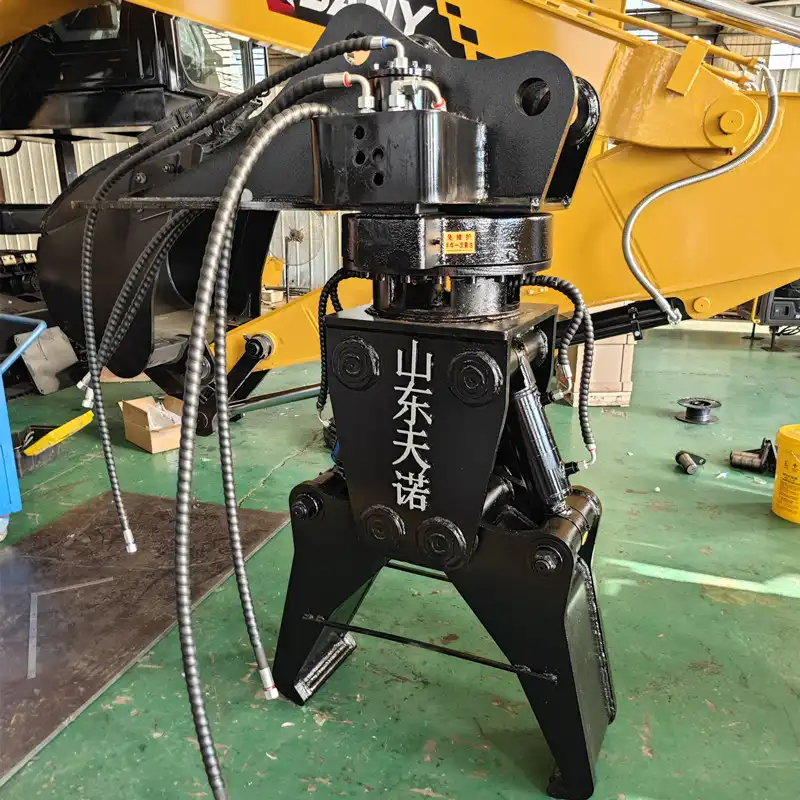
Standard And Custom Rail-Road Excavators
Different excavator configurations require tailored mounting approaches to achieve optimal rail clamp performance. Understanding these variations ensures successful installation across diverse equipment types.
Standard Gauge Compatibility
Standard gauge railways (1435mm) represent the most common application for rail clamps, and most manufacturers design their products primarily for this configuration. The mounting process follows established procedures with readily available components and well-documented installation sequences. Standard gauge applications benefit from extensive field testing and proven performance data.
Verify that your clamp specifications match the rail gauge requirements exactly, as even small variations can affect clamping effectiveness and safety. Standard gauge systems typically offer the widest selection of mounting options and accessories, making customization easier for specific operational requirements.
Custom Gauge Adaptations
Custom rail gauges including 1520mm, 1000mm, and 1067mm require specialized mounting considerations and may need modified clamp assemblies. Work closely with your equipment supplier to ensure proper fit and function for non-standard applications. Custom gauge installations often require additional engineering analysis to verify structural adequacy and operational safety.
Document any modifications made for custom gauge applications, as this information becomes valuable for future maintenance and potential warranty claims. Custom installations may require extended testing periods to validate performance under actual operating conditions.
Dual-Mode Excavator Considerations
Dual-mode excavators that operate on both roads and rails present unique mounting challenges due to their specialized undercarriage designs. These machines often require custom mounting brackets and modified hydraulic routing to accommodate the additional equipment needed for rail operation.
Consider the additional weight and balance changes that rail clamps introduce to dual-mode machines. The mounting system must allow for quick conversion between road and rail configurations while maintaining structural integrity in both operating modes. Work with experienced technicians familiar with dual-mode equipment to ensure proper installation and setup.
FAQ
①Q: How long does it take to mount an excavator rail clamp?
A: Professional installation typically requires 45-90 minutes depending on excavator size and clamp complexity. Custom gauge applications may take longer.
②Q: Can I install a rail clamp on any excavator model?
A: Most excavators can accommodate rail clamps with proper mounting brackets, but weight capacity and hydraulic requirements must be verified before installation.
③Q: What maintenance does a mounted rail clamp require?
A: Regular inspection of mounting bolts, hydraulic connections, and safety features ensures reliable operation. Follow manufacturer maintenance schedules.
④Q: Do I need special tools for rail clamp installation?
A: Standard installation requires torque wrenches, hydraulic tools, and lifting equipment. Specialized tools may be needed for custom applications.
⑤Q: How do I know if my excavator's hydraulic system is compatible?
A: Check operating pressure requirements (typically 16-21 MPa) and flow rates against your excavator's specifications before installation.
Proper mounting of an excavator rail clamp ensures safe and efficient railway maintenance operations while protecting your valuable equipment investment. The systematic approach outlined in this guide provides the foundation for successful installation across various excavator types and rail configurations. Remember that quality installation pays dividends through reliable performance and extended equipment life.
Tiannuo Machinery offers comprehensive rail clamp solutions with high-strength alloy steel construction, customizable mounting compatibility, and professional installation support. Our clamps provide up to 30 kN clamping force with integrated hydraulic systems and essential safety features including locking pins and pressure hold valves. With OEM/ODM support and anti-rust coating treatments, Tiannuo delivers reliable performance for standard and custom rail-road excavators across all major gauge configurations.
If you want to learn more about products, welcome to contact us: rich@stnd-machinery.com.
References
- Johnson, M.R. & Thompson, K.L. (2023). "Railway Maintenance Equipment Installation Standards and Best Practices." Journal of Transportation Engineering, Vol. 149, Issue 8.
- Railway Industry Safety Association. (2024). "Guidelines for Rail-Mounted Excavator Equipment: Installation and Operation Manual." RISA Technical Publication 2024-07.
- Chen, W. & Rodriguez, A. (2023). "Hydraulic System Integration in Mobile Railway Maintenance Equipment." International Conference on Railway Engineering Proceedings, pp. 234-251.
- European Railway Agency. (2024). "Technical Specification for Rail Clamp Systems: Mounting Requirements and Safety Standards." ERA/TSI/2024/RM-003.
- Smith, D.J., Kumar, S. & Williams, P.T. (2023). "Mechanical Attachment Systems for Heavy Railway Maintenance Equipment: Design Considerations and Field Performance." Railway Engineering International, Vol. 52, No. 3, pp. 18-25.
About Author: Arm
Arm is a leading expert in the field of specialized construction and railway maintenance equipment, working at Tiannuo Company. Tiannuo specializes in manufacturing a wide range of products, including railway maintenance equipment like railway sleeper changing machines and screening machines, excavator modification equipment such as excavator lifting cabs, various engineering arms for excavators, excavator accessories like digging buckets, and engineering vehicle auxiliary equipment like loader buckets.
YOU MAY LIKE
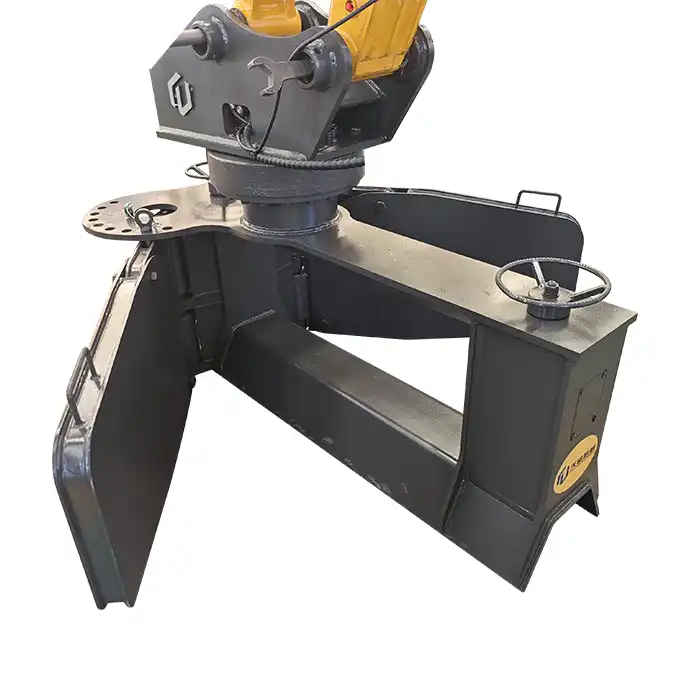 VIEW MORERailway Excavator Ballast Plow
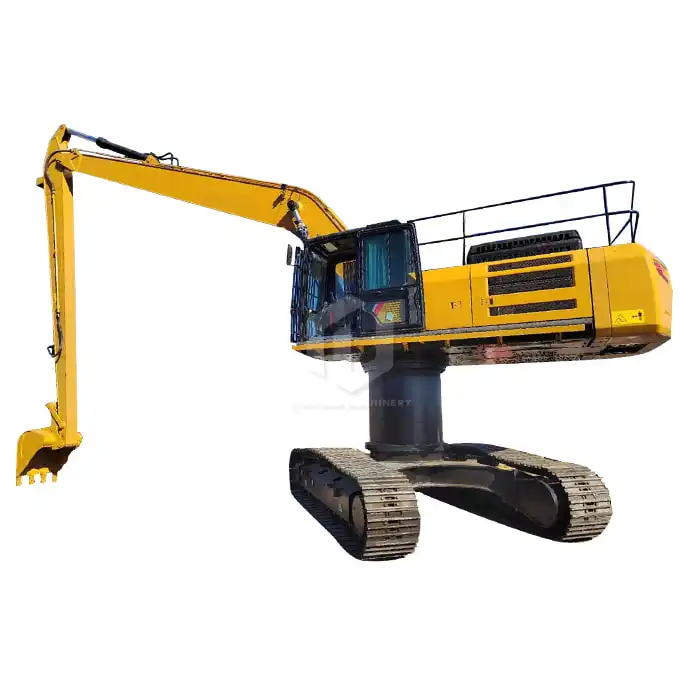 VIEW MORESeaside Excavator Heightening Column
 VIEW MOREExcavator transfer carrier
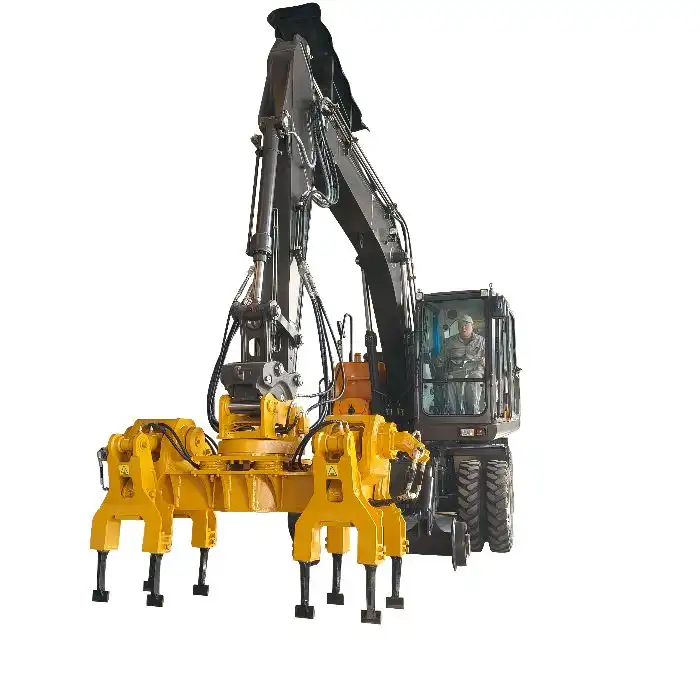 VIEW MORErailway double-head tamper
_1766383813484.webp) VIEW MOREWheel Sleeper Replacement System
VIEW MOREWheel Sleeper Replacement System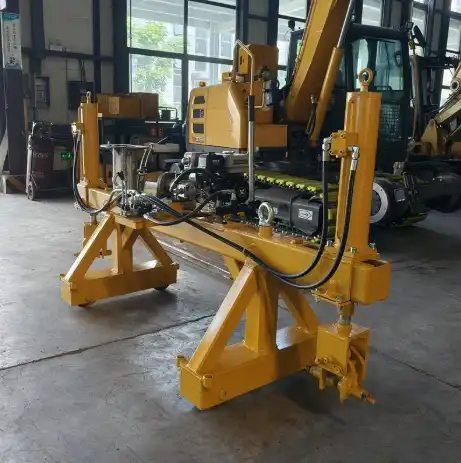 VIEW MOREGantry (goat) crane for rail change
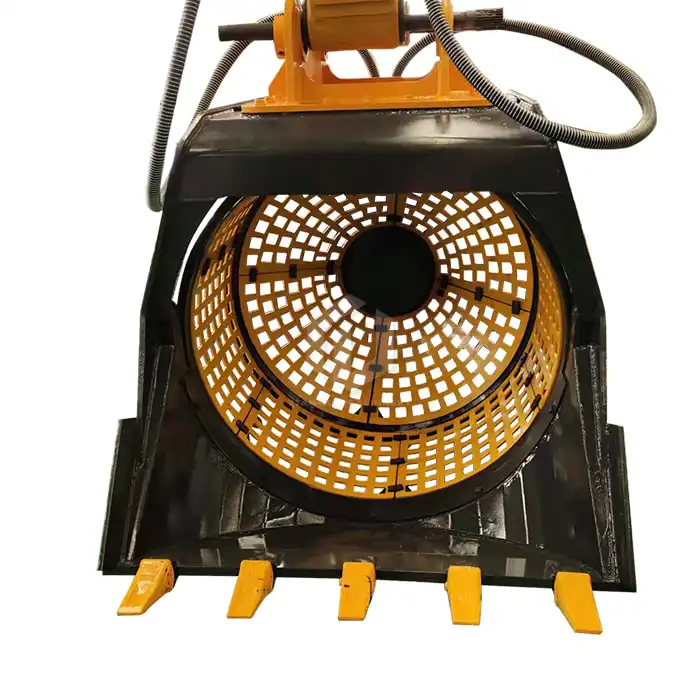 VIEW MOREExcavator Rotary Screening Bucket
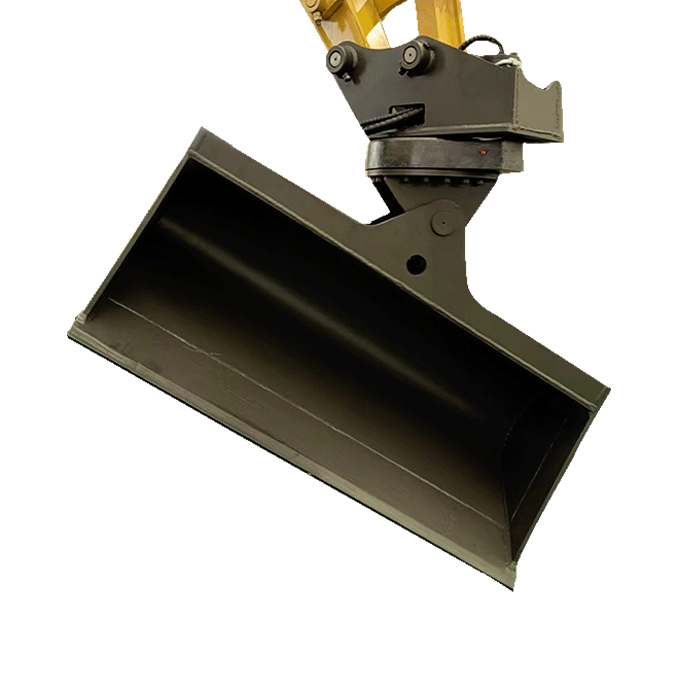 VIEW MOREDegree Rotating Hydraulic Tilt Ditching Bucket

